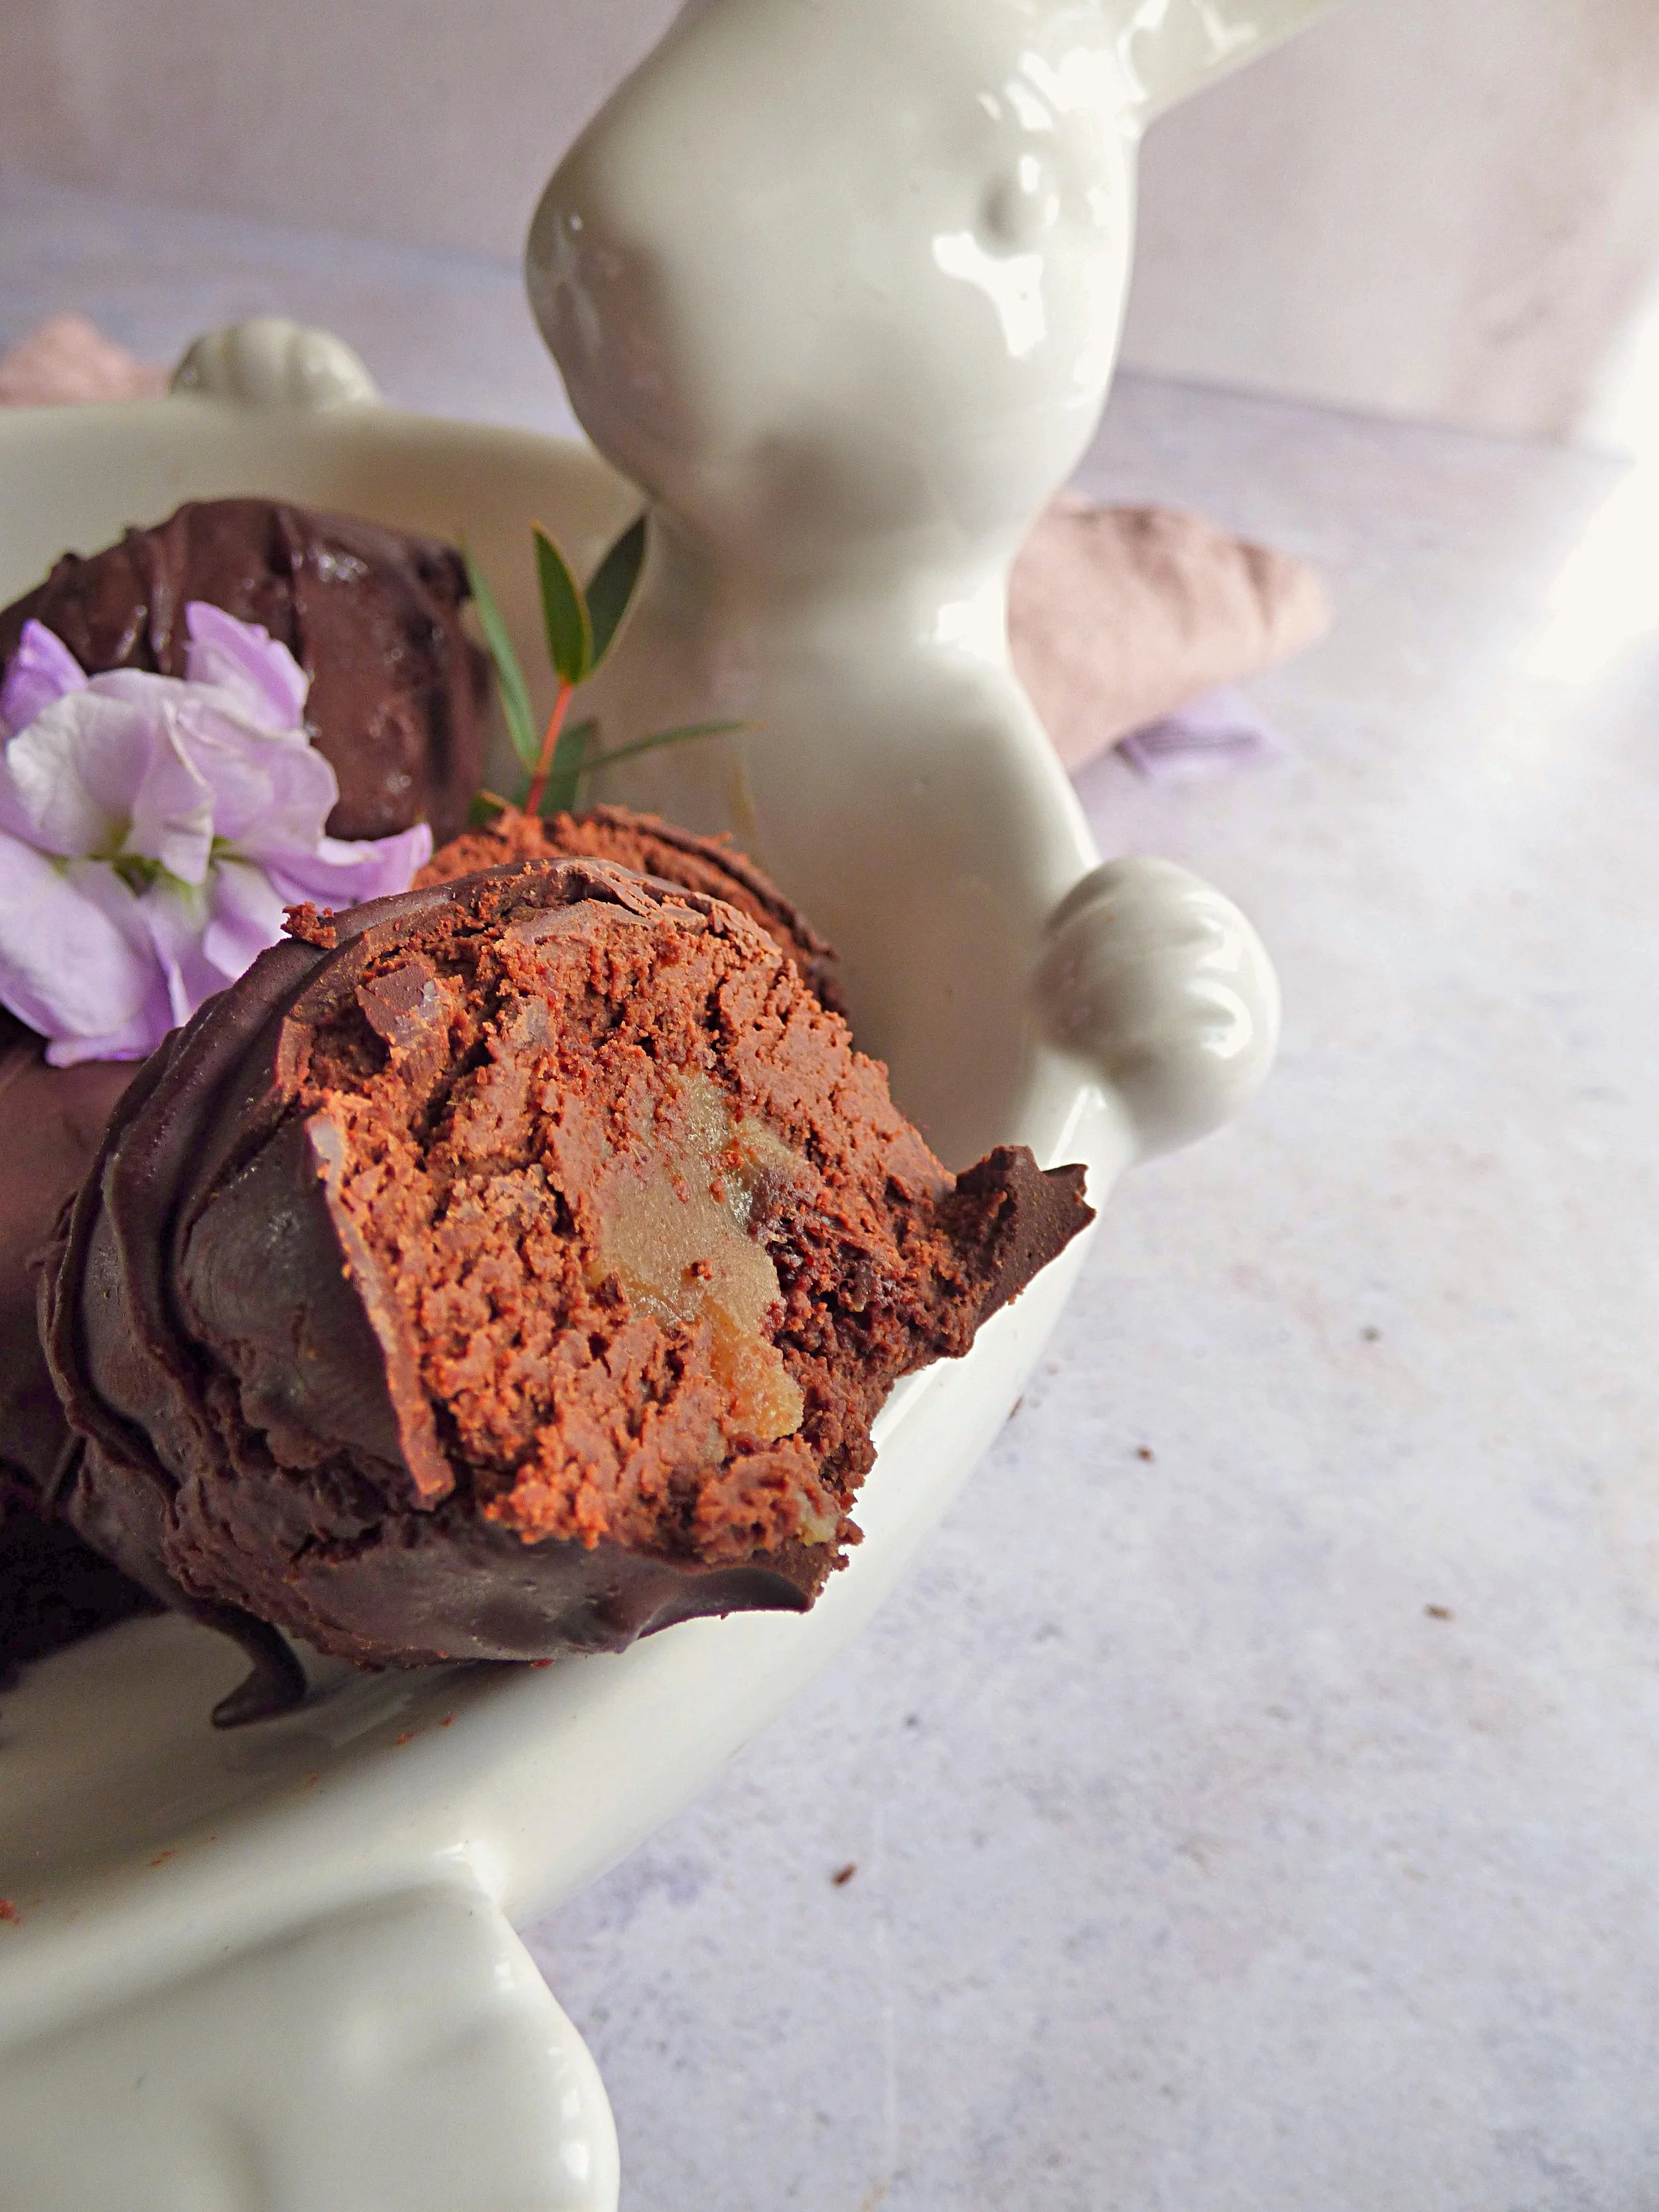
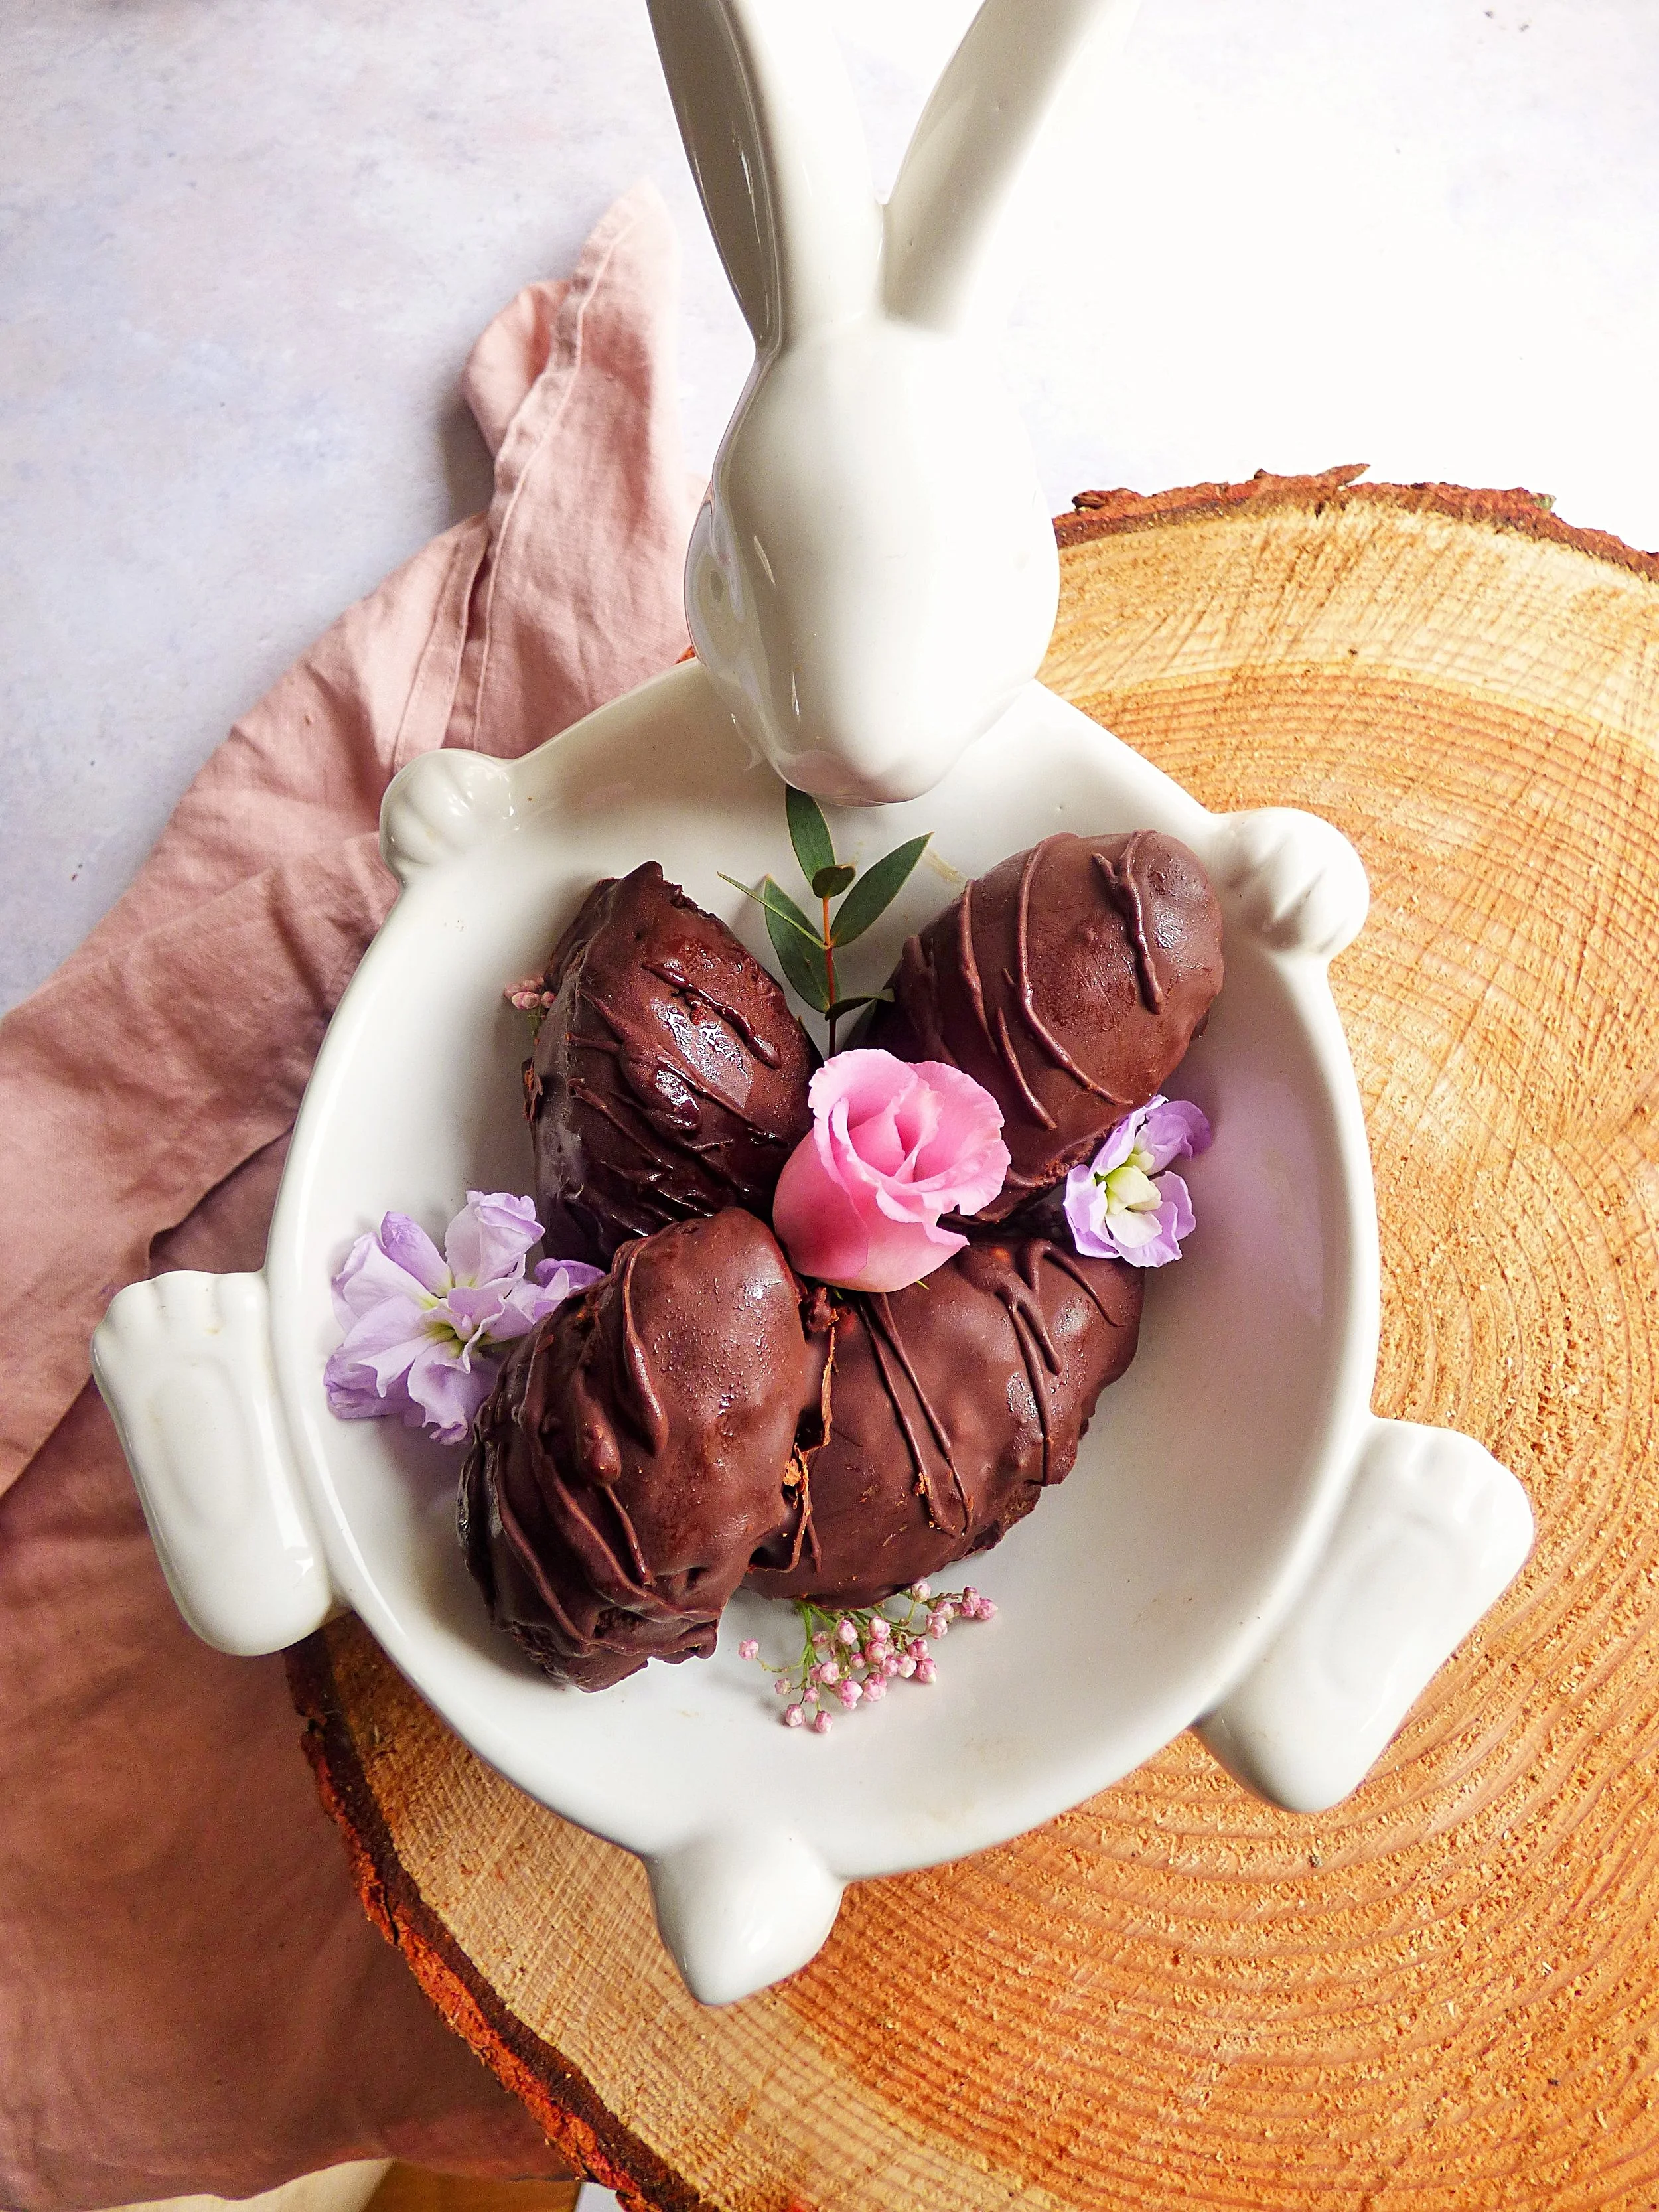
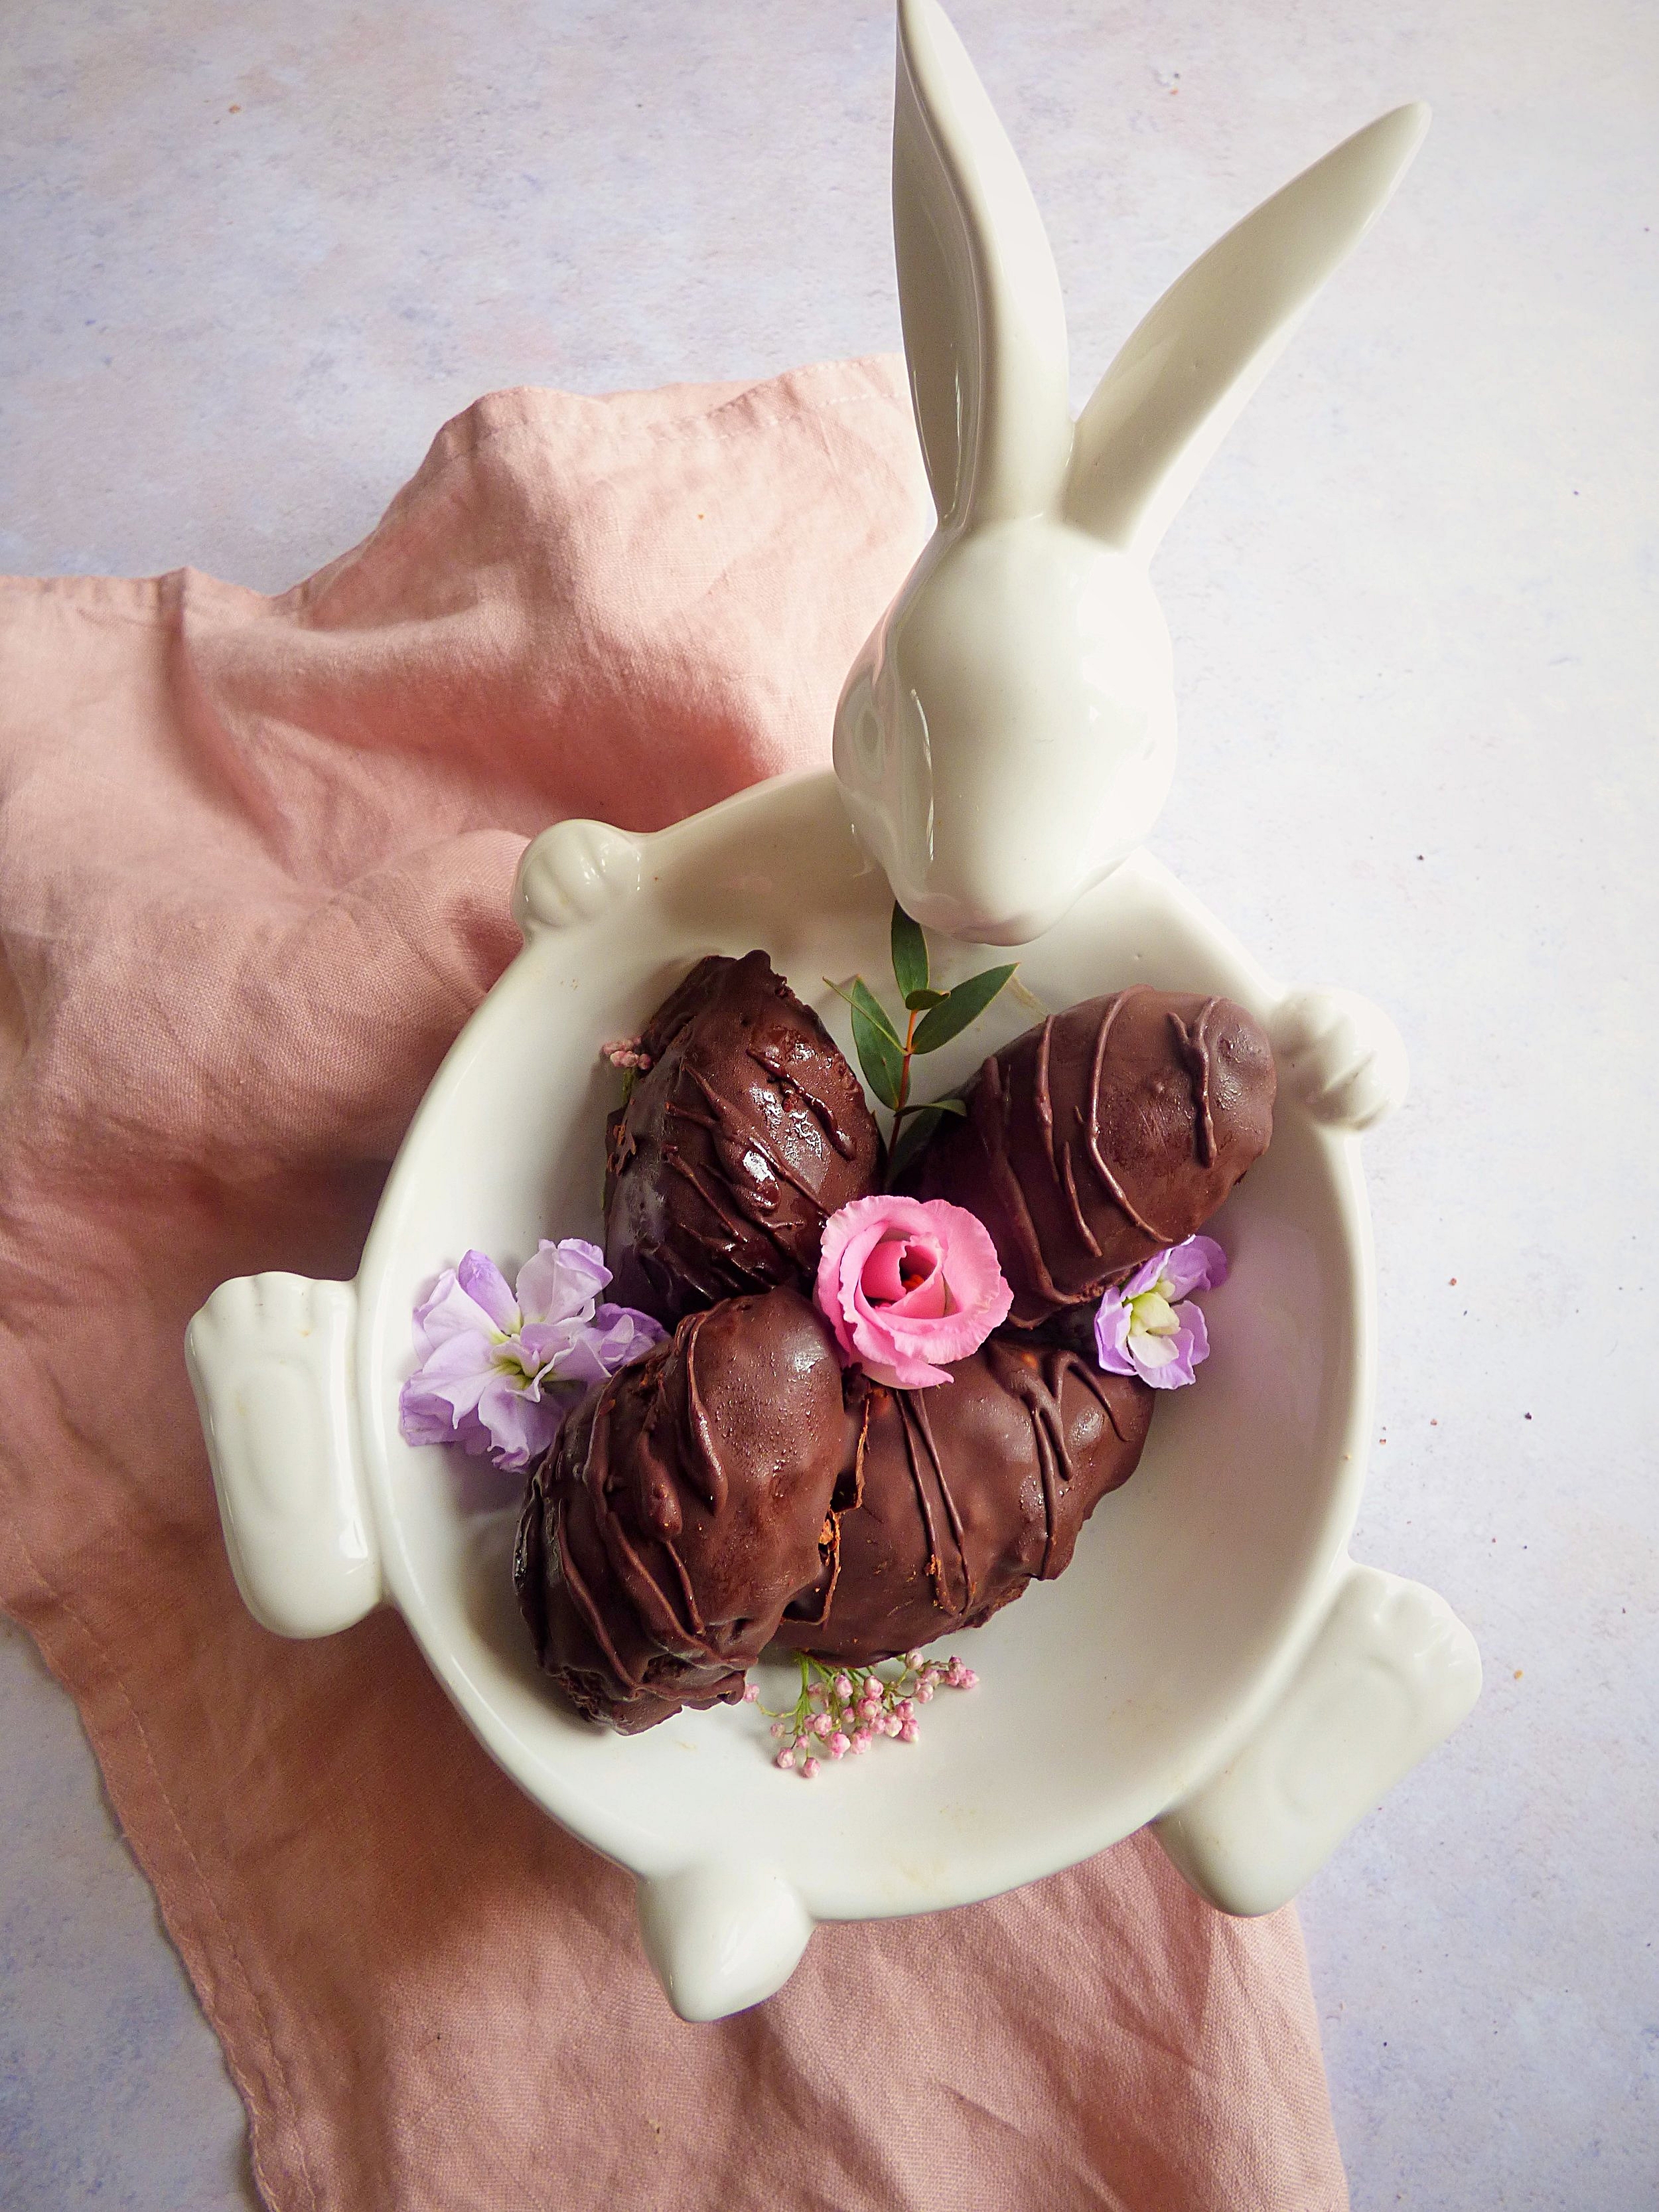
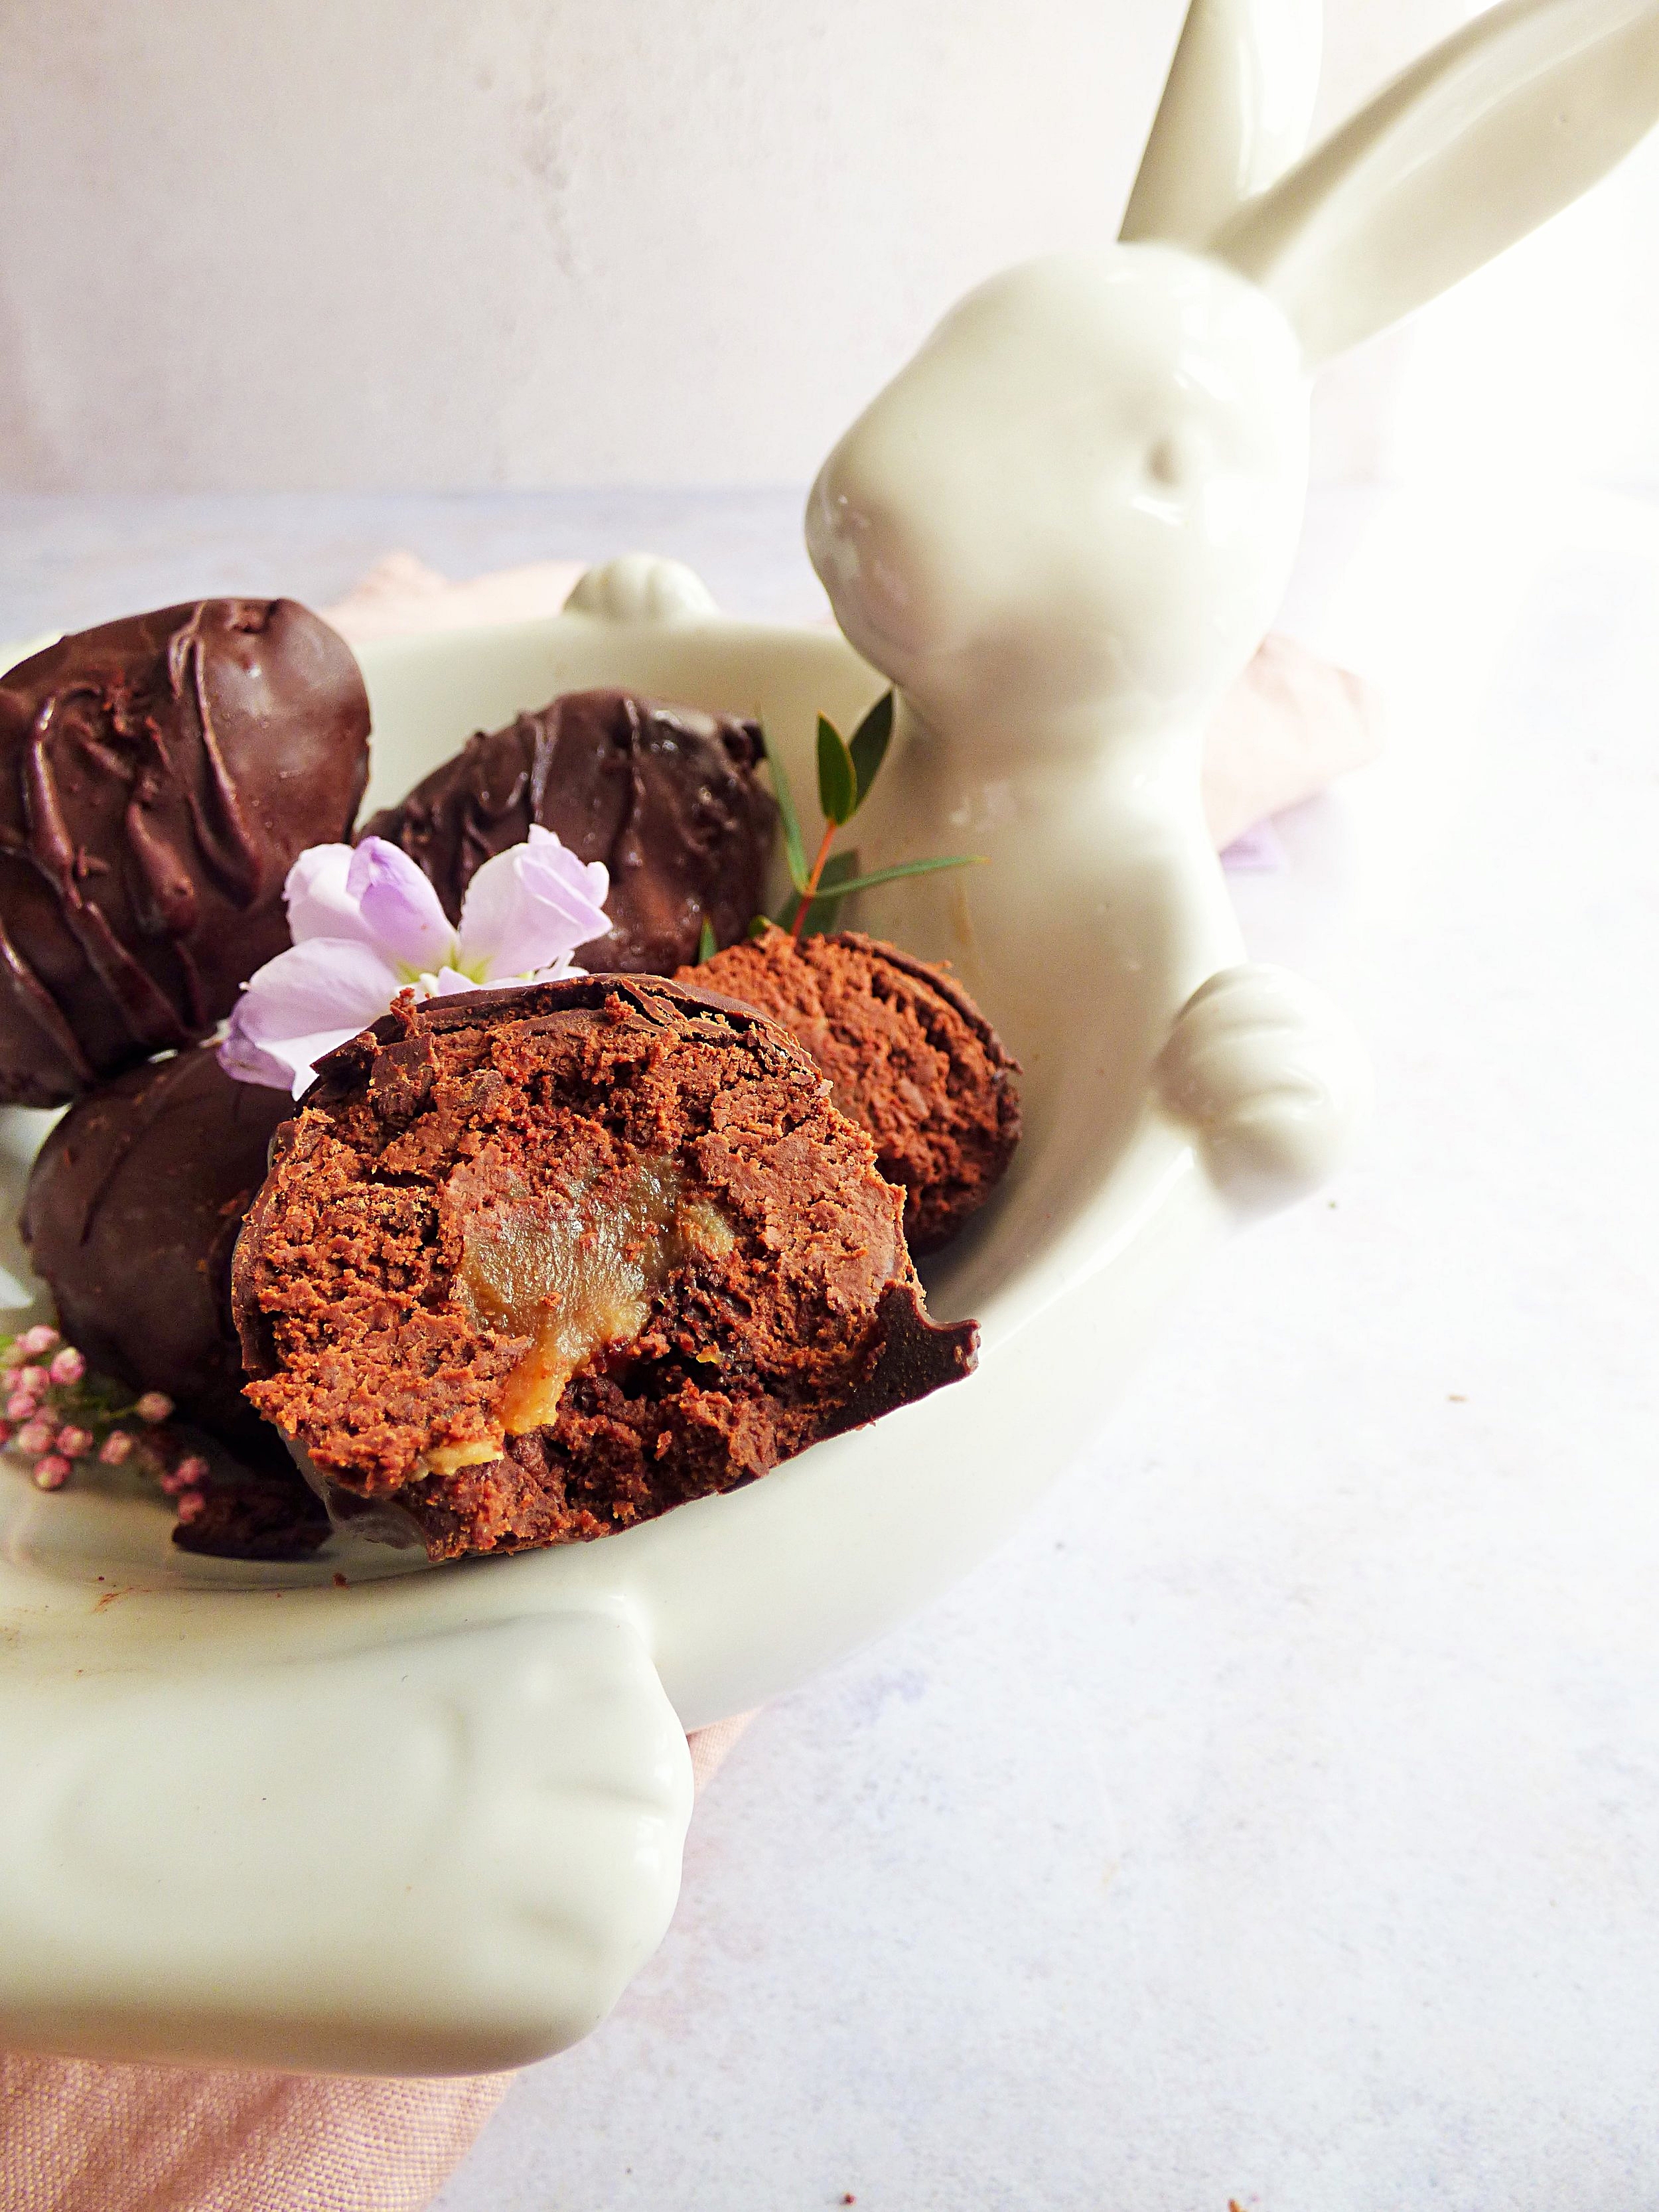
Chocolate brownie truffle Easter eggs with a salted caramel centre
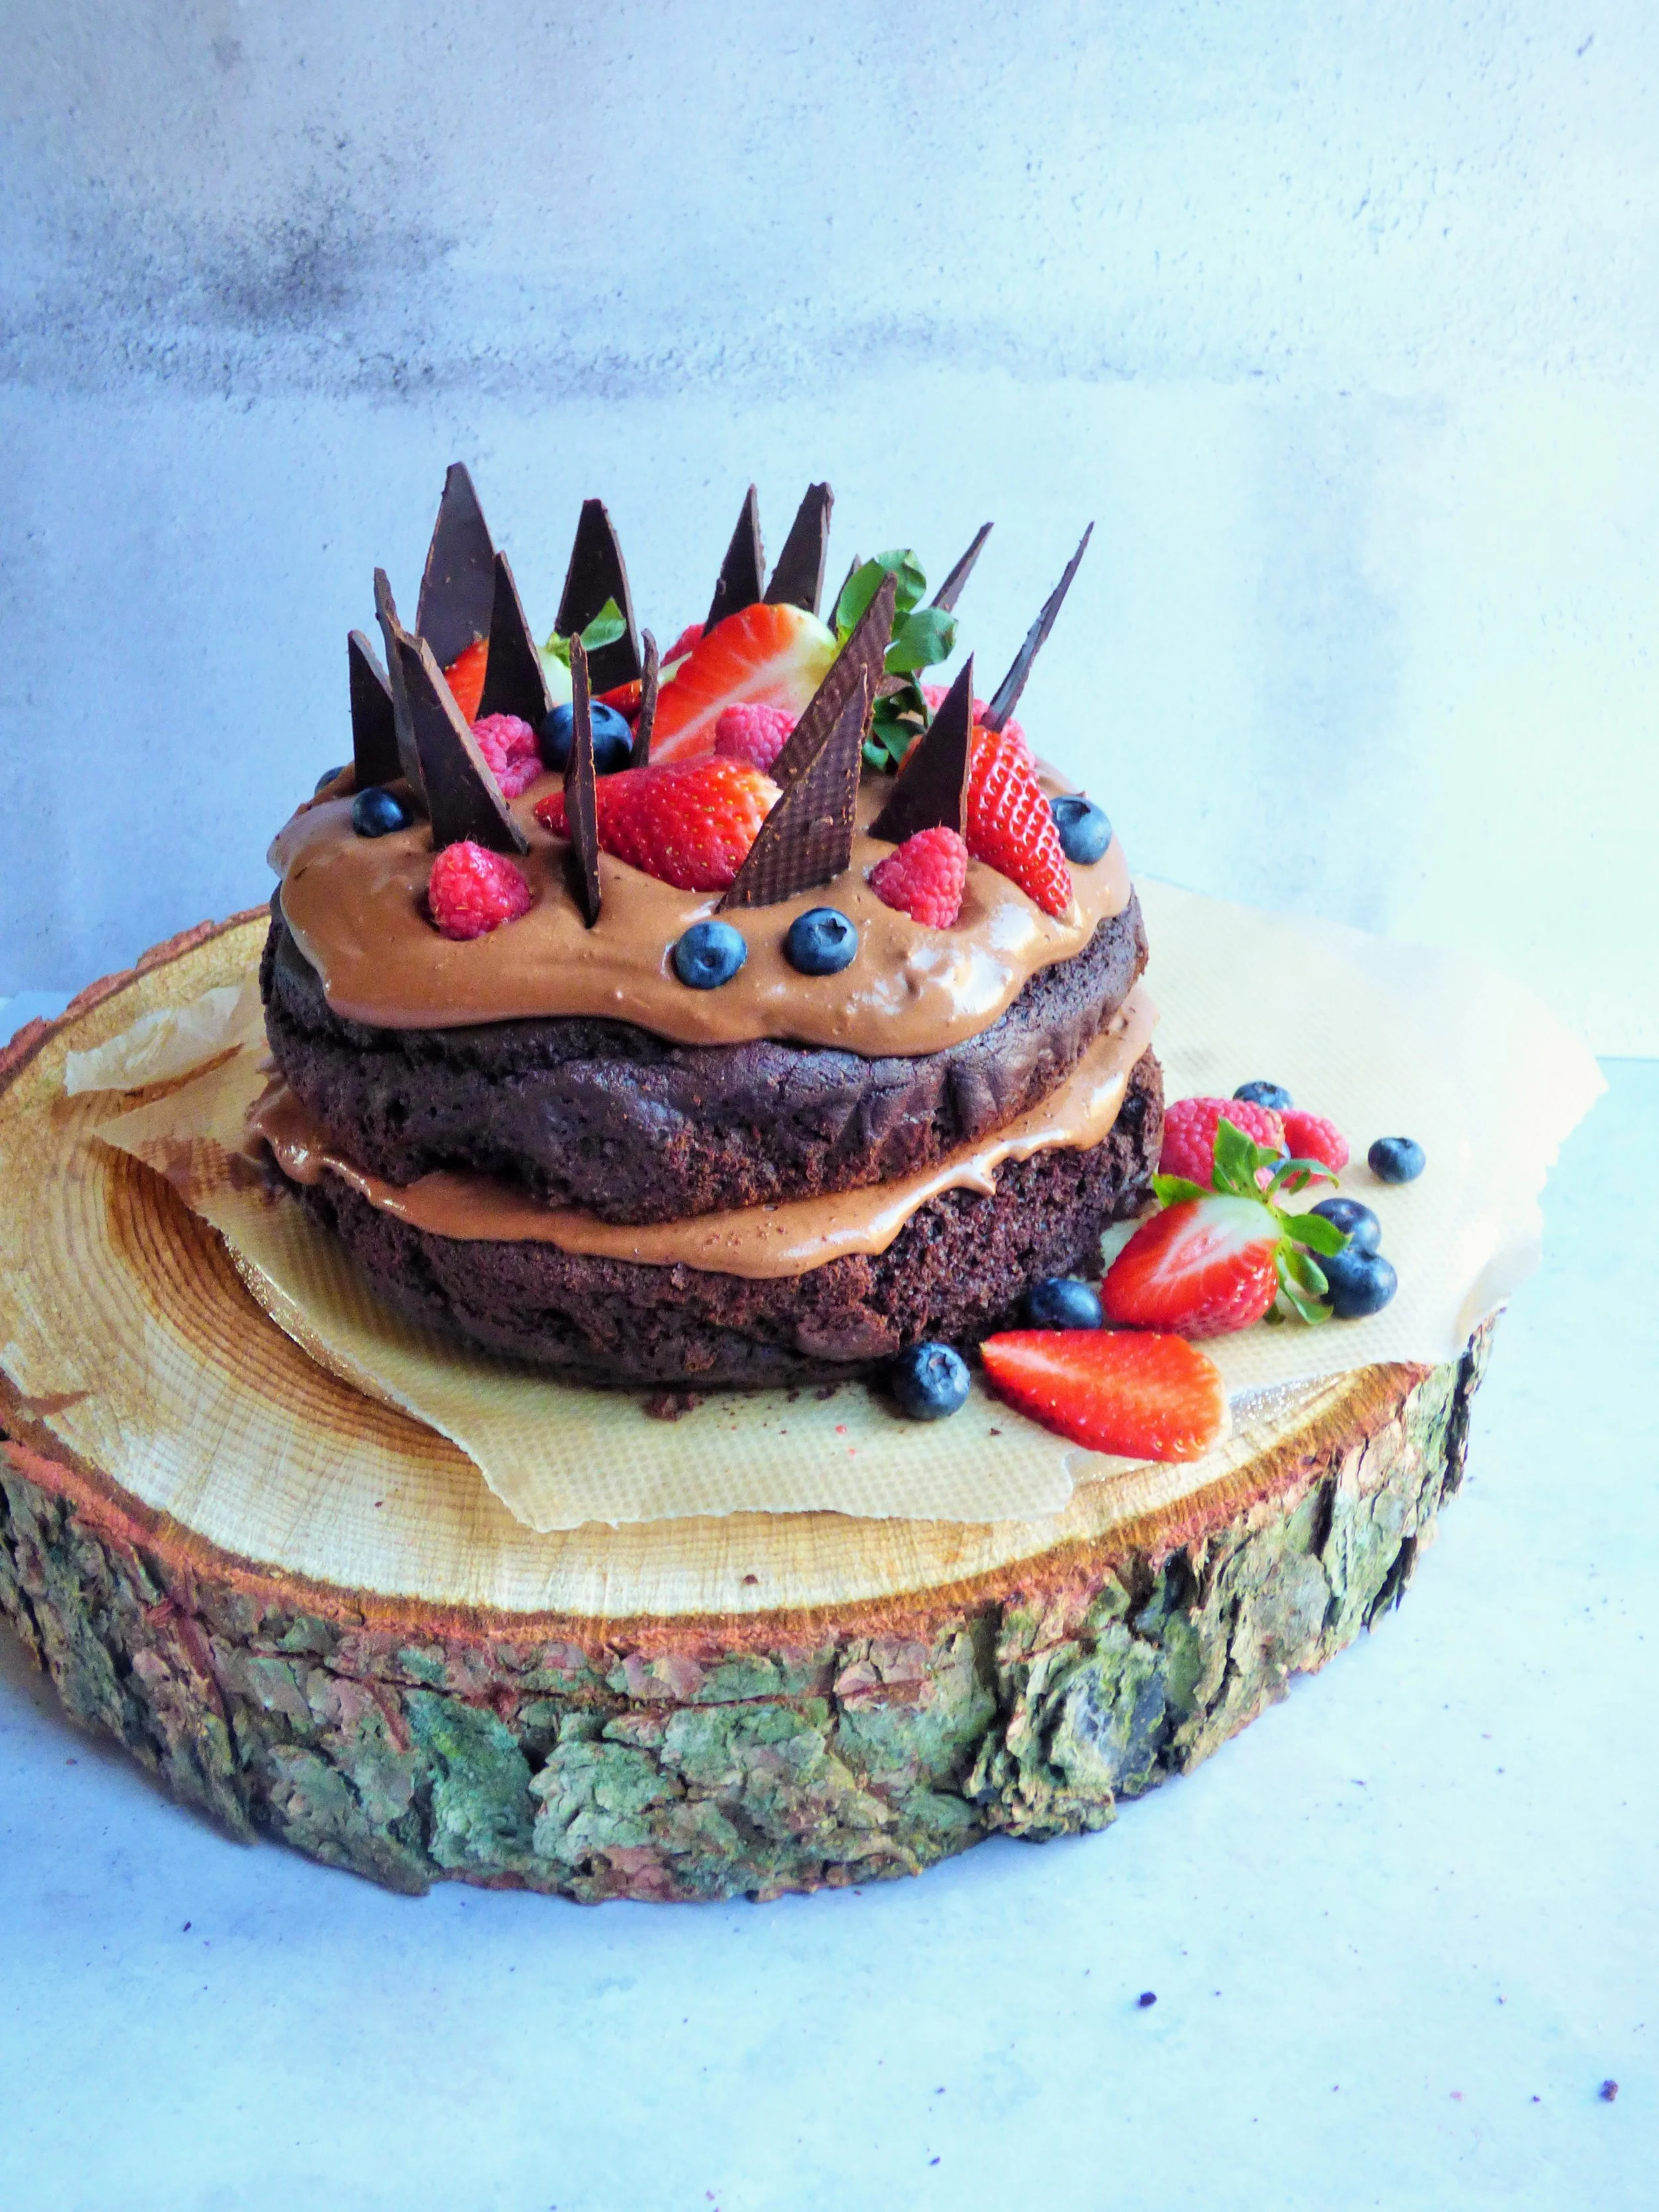
I initially came up with this creation after I’d made my deliciously decadent chocolate cake and it was starting reach the end of its shelf life. I didn’t want to waste it so I thought, how could I use it to create a new and utterly indulgent Easter treat. And ta-dah these chocolate lovers dream treats were created.
What more could you want than a rich Easter egg shell encasing a chocolate sponge combined with cacao and coconut cream to make a melt in the mouth fudgey truffle, with an insanely delicious salted caramel centre? These are not only one of the best things I’ve ever made, but geninuely, they’re one of the most delicious treats I’ve ever tasted.
I can’t wait for you to try them and to take your ‘free from’ easter to the next level, and then some.
I’ve also provided you with two caramel options. Date caramel is so easy to make and tastes just as good as the OG. However, I empathise with the fact that lots of people can’t tolerate dates (me, hi, hello, 👋🏻) or nut butter of any kind so I have another version for my date and nut free crew too 💛 And even better, you can make these without buying Easter egg moulds - just be prepared to get your hands stuck in there.

Chocolate brownie truffle Easter eggs with a salted caramel centre
(Makes 12 Easter eggs)
Option 1: Salted caramel (no dates)
Ingredients
1/2 cup coconut sugar
1/4 cup maple
1 can coconut milk (refrigerated, use the set part only)
1 teaspoon vanilla
Salt to taste
Method
Add all of ingredients to a saucepan over a medium - high heat. Bring to the boil then reduce to a low - medium heat, stirring frequently for about 20 minutes until you’re left with beautifully thick, deep golden brown caramel. Pour into a small dish lined with greasproof paper and pop into the freezer to set.
Option 2: Date caramel
Ingredients
2 cups of pitted medjool dates (if you’re not using soft dates, soak them in boiling water for 5 minutes to soften)
2 tablespoons of nut butter (cashew, almond or peanut)
1/4 cup of plant based milk
1 teaspoon vanilla extract
Generous pinch of salt
Method
Add all of the ingredients to a high speed blender or food processor and blend until beautifully smooth, stopping to scape down the sides as and when necessary. Spoon into a small dish lined with greasproof paper and pop into the freezer to set.
Cake ingredients
1 1/2 cups gluten free self raising flour
2/3 cup cacao powder
1 teaspoon bicarbonate of soda
1 teaspoon baking powder
Pinch salt
2 teaspoons vanilla extract
2/3 cup coconut sugar
1 cup rice milk or almond milk.
1/2 cup of melted coconut oil
2 teaspoons apple cider vinegar
Optional: zest of 1/2 an orange
Method
Preheat the oven to 180°C
Grease an 8” 20cm springform round cake tin and line the base with greaseproof paper.
Combine all of the dry ingredients in a large mixing bowl. In a separate bowl, mix together all the wet ingredients except the vinegar. Add the wet mixture to the dry mixture and fold together until smooth. Add the vinegar, give it a good stir then immediately pour into the cake tin. Bake in the oven for about 25-30 minutes or until a skewer inserted in the centre of the cake comes out clean. Remove from the oven and leave to cool for about 10 minutes, then turn out on to a wire rack topped with greaseproof paper, crumble the cake into little pieces then leave to cool completely.
Cacao and coconut cream ingredients
1 can coconut milk, refrigerated (only use the set cream part and save the coconut water to add to a smoothie
2 tablespoons maple syrup
3 tablespoons cacao powder
1 teaspoon vanilla extract
Good pinch of salt
Method
Mix all of the ingredients in a large bowl until combined and beautifully smooth then pop into the fridge while you wait for the cake to completely cool.
Once cooled, crumble the cake into the bowl of cacao and coconut cream then mix with a spoon until everything is nice and fudgey.
Now for the fun part.

Assembling
Ingredients
1 1/2 cups chocolate chips (melted)
And anything else you love for decoration, dairy free white chocolate, cacao nibs, coconut etc.
Method
Take teaspoon sized scoops of the caramel and roll them into little balls.
Next for the messy part, scoop a tablespoon of the creamy cake mixture in your hands and flatten it in the palm of your hand, pop the caramel in the middle, add some more of the cake mixture on top and then mould it around the caramel in to a rough egg shape. Pop the “egg” onto a dessert spoon to help - press gently and rotate it with your hands to help create a neat egg shape.
Put the eggs on a baking tray lined with greaseproof paper then pop the tray into the freezer. (At this stage they don’t look particularly pretty,💩 ha. Stick with me).
Melt the chocolate then allow to cool for a few minutes. Dunk each egg into the rich melted chocolate, shake off any excess then pop back on the tray to set. If you have any chocolate left over, drizzle over the top, and sprinkle with any edible decorations if you’re using them.
Leave in the fridge until set.
Store in the fridge for up to 4 days or in the freezer for up to 1 month. Leave the eggs at room temperature to thaw before consuming from the freezer.
Have a really happy easter 🐣🐰🐣